
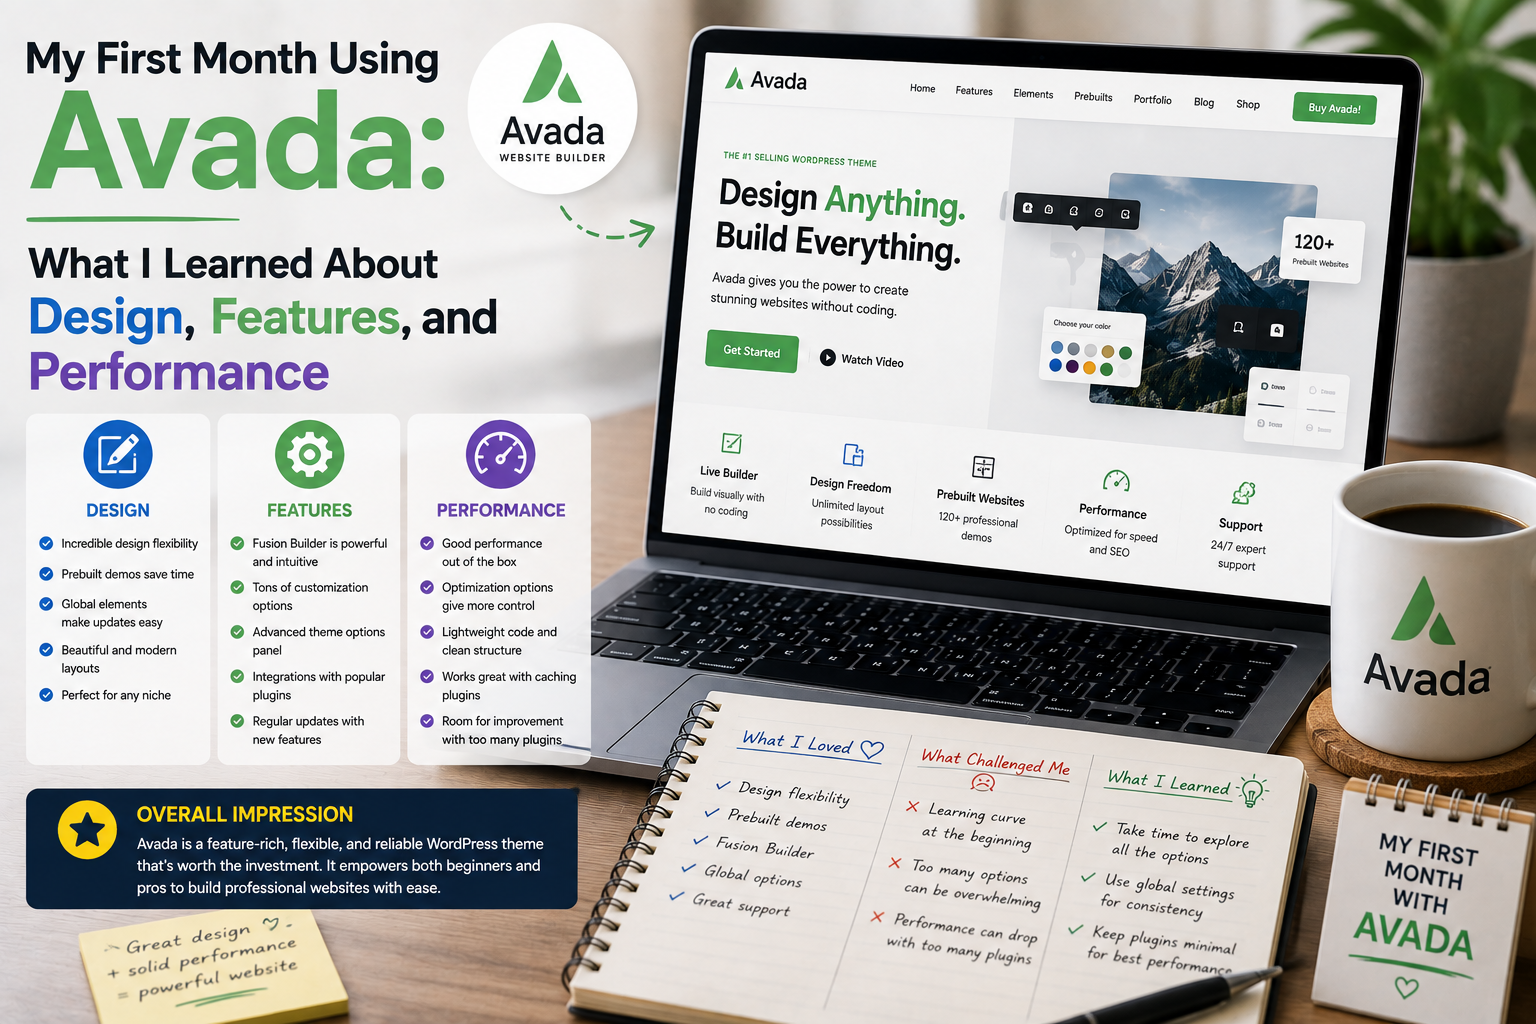
When I first decided to try Avada on a WordPress website, I was looking for more than a fresh visual appearance. I wanted a theme that could give me greater control over page design while still being practical enough for everyday website management.
Avada caught my attention because it combines a WordPress theme with its own visual website-building tools. After using it for a month, I discovered that its extensive feature set could be both a major advantage and a learning challenge.
Here is what my first month taught me about Avada, from installation and design to performance and everyday usability.
Why I Chose Avada
My previous WordPress setup worked reasonably well, but I wanted more freedom when creating pages.
I wanted to experiment with different layouts, typography, buttons, images, content sections, and headers without constantly modifying theme files.
Avada’s official website presents it as a WordPress website builder with extensive design and customization capabilities.
That combination made it interesting enough to test on a real project.
The Installation Was Straightforward
Getting started was relatively simple.
After purchasing and downloading the theme through the official source, I installed the theme through the WordPress dashboard.
The first thing I noticed was that Avada provides a large collection of settings and tools.
At first, this felt exciting.
Then it became slightly overwhelming.
There were many things to explore, so I decided not to change everything immediately. Instead, I started by building one page and learning the tools I actually needed.
That approach made the learning process much easier.
Design Was the Biggest Attraction
The strongest part of my experience was the design flexibility.
I could create layouts with different sections, columns, images, text blocks, buttons, and other elements.
Rather than adapting my website to a fixed theme structure, I could shape the design around the content.
This was especially useful for landing pages.
I could experiment with different arrangements and see how the page looked without constantly switching between editing and preview screens.
After a few days, the visual workflow became much more natural.
The Website Builder Took Some Learning
Although the visual tools were powerful, I did not understand everything immediately.
There were settings I had never encountered before, and some options affected other parts of the design.
My initial instinct was to experiment with everything.
That was a mistake.
I quickly learned that it was more efficient to start with the basic layout and gradually introduce additional design features.
The more I used the builder, the easier it became to understand which controls were genuinely useful.
Pre-Built Designs Saved Time
One feature I particularly appreciated was the availability of pre-built website designs and page layouts.
Starting with a blank page can take considerable time.
Using a pre-designed structure gave me a starting point that I could modify.
I rarely wanted to use a design exactly as provided, so I changed colors, fonts, images, spacing, and content.
The templates were therefore more useful as a foundation than as finished websites.
That saved time while still allowing me to create something unique.
I Paid More Attention to Mobile Design
During the first month, I also became much more conscious of responsive design.
A page that looked great on my desktop monitor could look completely different on a smartphone.
I tested navigation, buttons, images, columns, headings, and spacing on smaller screens.
This became an essential part of my workflow.
Instead of finishing the desktop design and checking mobile only at the end, I started considering different screen sizes throughout the process.
That resulted in cleaner layouts.
Performance Was More Complicated
Performance was the area where I had to adjust my expectations.
A feature-rich theme can provide tremendous design flexibility, but a website’s speed depends on many different factors.
Hosting, images, plugins, caching, scripts, fonts, and page structure can all contribute to performance.
Avada provides performance-related settings and optimization features, but I still learned that configuration matters.
I avoided adding unnecessary elements simply because they were available.
This helped me maintain a cleaner website.
I Learned to Be Selective With Features
After several weeks, I realized I was not using most of Avada’s available options.
That was actually a valuable lesson.
Having more features does not automatically mean having a better website.
For my project, the most useful features were those that improved layout control, navigation, typography, responsive behavior, and content presentation.
Everything else was optional.
I began asking myself whether a feature solved a real problem before adding it.
Plugin Compatibility Still Matters
Changing a WordPress theme can affect existing website components.
I therefore tested the plugins already installed on my website after moving to Avada.
Most of my setup worked normally, but I still treated compatibility as something that should be checked rather than assumed.
I also kept a backup before making significant changes.
That became especially important when experimenting with new layouts and settings.
Documentation Helped
Another positive part of the experience was having access to documentation and tutorials.
A theme with many features can be difficult to understand without clear instructions.
Whenever I encountered a setting I did not understand, documentation helped me move forward more quickly.
I also found that learning one feature at a time was much more effective than trying to understand the entire system in one sitting.
What I Would Do Differently
If I were starting again, I would spend more time planning the website before customizing the theme.
I would decide on typography, colors, navigation, page structure, and content hierarchy first.
Then I would use Avada’s tools to implement that design.
This would prevent unnecessary experimentation and make the final website more consistent.
I would also test performance and mobile layouts throughout the process rather than waiting until the end.
Where to Download Avada
If you want to try Avada, I recommend obtaining it directly from its official developer or the authorized marketplace where it is sold.
Download Avada from the Official Avada Website
Avada is also sold through ThemeForest, an authorized marketplace associated with the theme.
I strongly recommend avoiding unofficial, cracked, or “nulled” copies. Apart from licensing concerns, modified theme files can create security and maintenance risks.